There’s something incredibly satisfying about making your own sourdough bread from scratch. The process of creating a naturally leavened loaf of sourdough bread can be both challenging and rewarding.
From mixing simple ingredients to watching the dough transform into a beautiful loaf with a crispy crust and an airy crumb, making sourdough bread at home can be a delightful and fulfilling experience.
So, let’s dive in and learn how to make homemade sourdough bread!
What is sourdough bread?
Sourdough bread is a type of bread that is made using naturally occurring wild yeast and lactic acid bacteria to ferment the dough. This creates a unique tangy flavor and characteristic open crumb structure. Unlike commercial yeast, which is used in most bread recipes for leavening, sourdough relies on the wild yeast and bacteria that naturally occur in the environment and in flour.
Making sourdough bread at home involves two main steps: creating and maintaining a sourdough starter and then using the starter to ferment and leaven the dough. A sourdough starter is a mixture of flour and water that has been fermented and populated with wild yeast and bacteria. Once a sourdough starter is established, it can be used to make sourdough bread indefinitely, as long as it is properly maintained.
How to create a sourdough starter
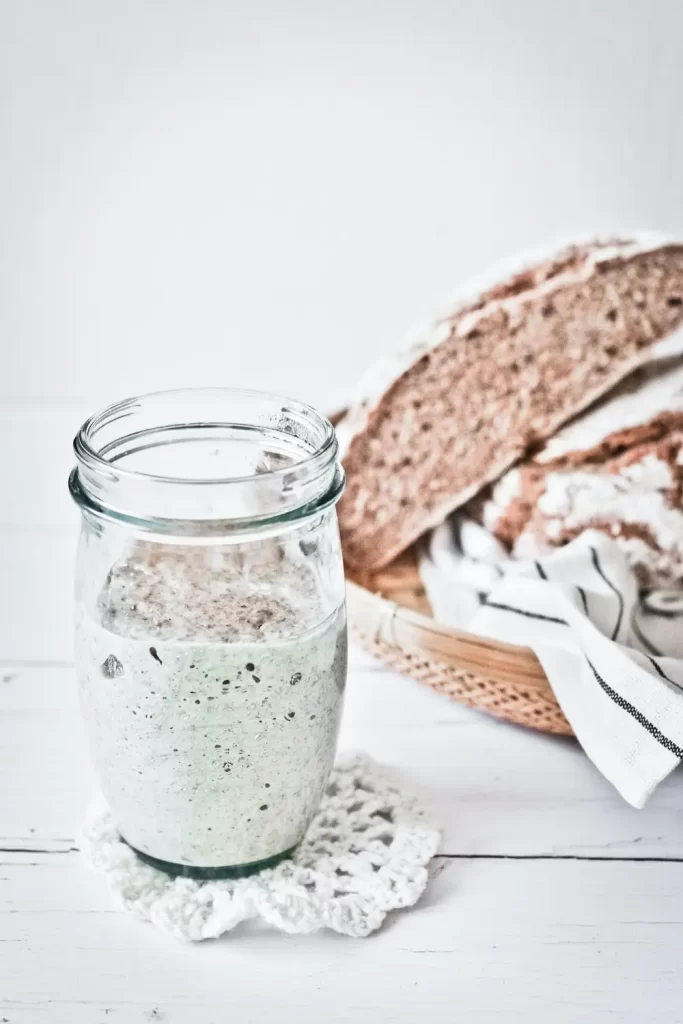
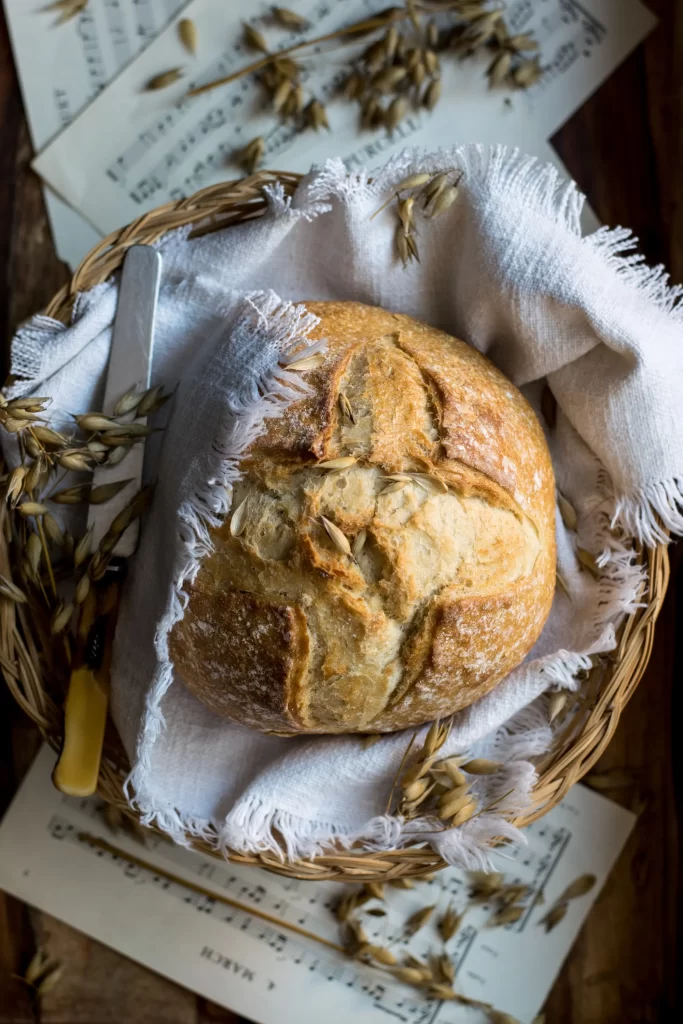
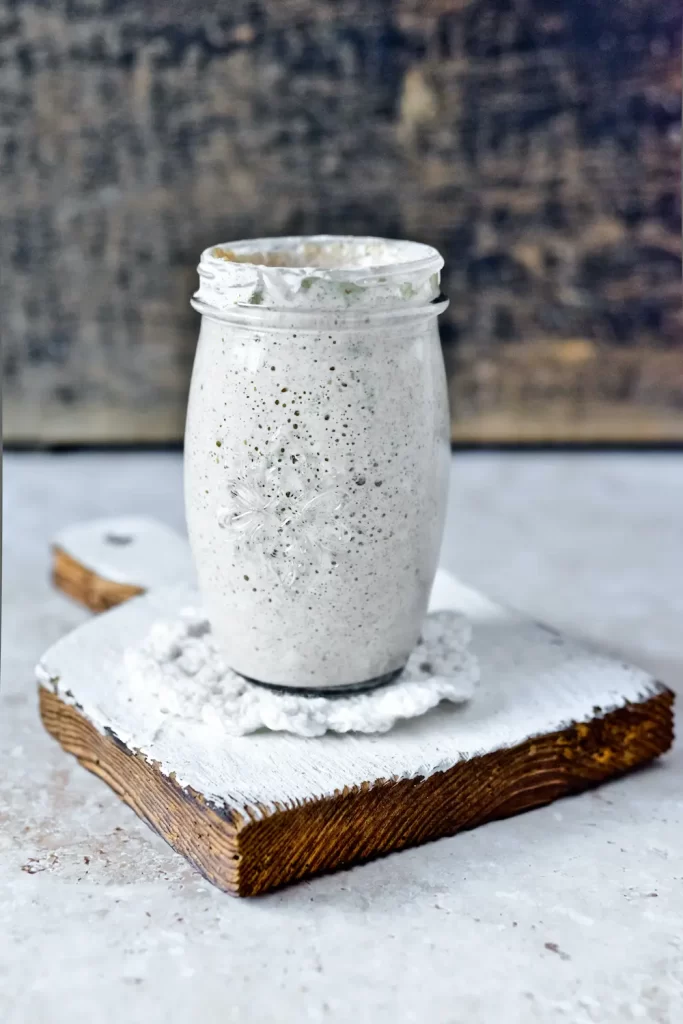
Creating a sourdough starter is the first and most crucial step in making homemade sourdough bread. Follow these steps to create your own sourdough starter:
Ingredients:
- 1 cup of all-purpose flour
- 1 cup of water
Instructions:
- Mix together 1 cup of flour and 1 cup of water in a clean glass or plastic container. Avoid using metal containers, as they can react with the acids in the sourdough.
- Stir well until there are no dry flour patches. The consistency should be similar to a thick pancake batter.
- Cover the container with a clean towel or plastic wrap and let it sit at room temperature for 24 hours.
- After 24 hours, you should start seeing some bubbles forming on the surface of the mixture. This indicates that wild yeast and bacteria are beginning to populate the mixture.
- Discard half of the mixture (about 1/2 cup) and feed the starter by adding 1/2 cup of flour and 1/2 cup of water to the remaining mixture. Stir well.
- Repeat this feeding process every 24 hours for the next 5-7 days, discarding half of the mixture and feeding it with fresh flour and water each time. The starter should become more active with increased bubbling and a pleasant tangy aroma.
- Once your sourdough starter is mature and active, it’s ready to be used to make bread!
How to maintain your sourdough starter
To keep your sourdough starter healthy and active, you need to maintain it regularly. Here are some guidelines for maintaining your sourdough starter:
- Feed your starter at least once a day, or every 12 hours if possible. To do this, discard half of the starter and then feed it with equal parts of flour and water by weight. For example, if you discard 1 cup of starter, feed it with 1 cup of flour and 1 cup of water.
- Use filtered or bottled water, as chlorine in tap water can inhibit the growth of wild yeast and bacteria.
- Keep your starter at room temperature, ideally between 70-75°F (21-24°C). Avoid exposing it to extreme temperatures or drafts.
- Stir your starter well after each feeding to incorporate air and evenly distribute the food for the wild yeast and bacteria.
- If you need to take a break from baking, you can store your sourdough starter in the refrigerator. Feed it one last time before refrigerating, and then feed it once a week with equal parts of flour and water to keep it alive. Before using it to make bread again, take it out of the refrigerator and let it come to room temperature, and then feed it a couple of times to revive its activity.
Now that you have a healthy and active sourdough starter, it’s time to use it to make delicious sourdough bread!
How to make sourdough bread from scratch
Ingredients:
- 3 cups of all-purpose flour
- 1 1/2 cups of water
- 1 1/2 teaspoons of salt
- 1 cup of active sourdough starter
Instructions:
- In a large mixing bowl, combine 3 cups of flour and 1 1/2 cups of water. Stir until the dough comes together into a shaggy mass.
- Let the dough rest for 30 minutes. This is called the autolyse stage, and it allows the flour to absorb the water and develop gluten.
- After the autolyse, add 1 1/2 teaspoons of salt and 1 cup of active sourdough starter to the dough. Mix well until the ingredients are fully incorporated.
- Begin the process of kneading the dough. You can do this by hand or using a stand mixer with a dough hook attachment. Knead the dough for about 10-15 minutes, until it becomes smooth and elastic.
- Place the dough back into the mixing bowl and cover it with a clean towel or plastic wrap. Let it ferment at room temperature for 4-6 hours, or until it has doubled in size. The fermentation time may vary depending on the temperature and activity of your sourdough starter.
- Once the dough has doubled in size, gently deflate it and shape it into a round boule or a batard. You can do this by pulling the sides of the dough towards the center and pinching them together to create tension on the surface of the dough.
- Place the shaped dough into a floured proofing basket or a lined and floured bowl, seam side up. Cover it with a clean towel or plastic wrap and let it proof in the refrigerator overnight for 8-12 hours. This slow fermentation in the refrigerator helps to develop the flavor and structure of the bread.
- Preheat your oven to 450°F (230°C) and place a cast iron Dutch oven or a baking stone on the middle rack to preheat as well.
- Once the oven and the Dutch oven/baking stone are hot, carefully remove the proofed dough from the refrigerator and transfer it onto a piece of parchment paper. Score the top of the dough with a sharp knife or a razor blade to create steam vents and allow the bread to expand during baking.
- Carefully transfer the parchment paper with the dough into the preheated Dutch oven/baking stone. If using a Dutch oven, cover it with the lid to create a steamy environment for the bread to bake. If using a baking stone, place a metal pan on the bottom rack of the oven and pour hot water into it to create steam.
- Bake the bread covered for 20 minutes, then remove the lid or the pan with water and bake uncovered for another 20-25 minutes, or until the bread is golden brown and sounds hollow when tapped on the bottom.
- Carefully remove the bread from the Dutch oven/baking stone and let it cool on a wire rack for at least 1 hour before slicing and enjoying!
Tips for success

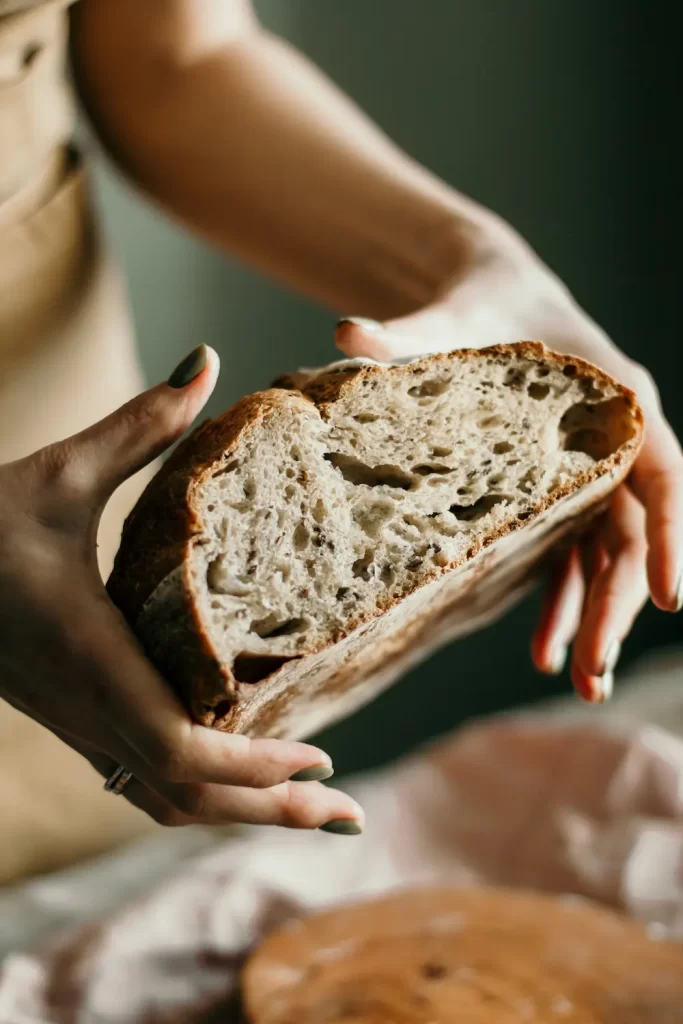
1. Pay attention to the consistency of your sourdough
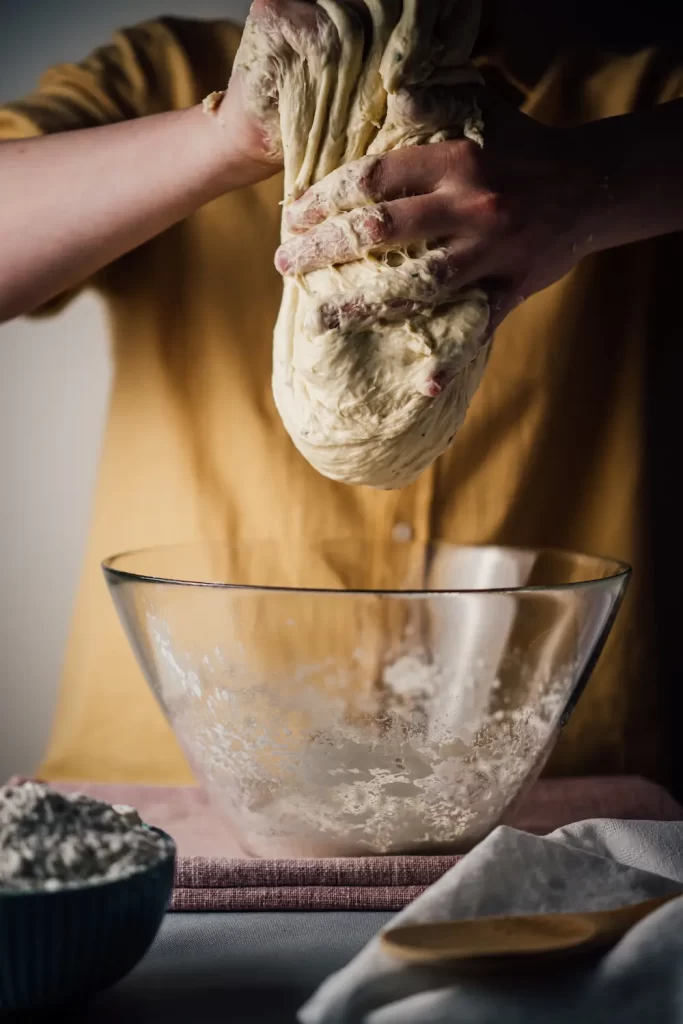
The consistency of your dough is important in achieving the perfect sourdough bread. It should be slightly tacky but not overly sticky. If it’s too dry, add a little water; if it’s too wet, add a little flour during the mixing and kneading process.
2. Experiment with different flours
While all-purpose flour is commonly used in making sourdough bread from scratch, you can also use other types of flour such as whole wheat, rye, or spelt to add different flavors and textures to your bread. Just keep in mind that different flours may require adjustments in hydration and fermentation time, so be prepared to experiment and adjust accordingly.
3. Practice proper fermentation
Fermentation is a crucial step in making sourdough bread from scratch, as it develops the flavor and structure of the bread. Keep an eye on the temperature and activity of your sourdough starter, as it can affect the fermentation time. Warmer temperatures will result in faster fermentation, while cooler temperatures will slow it down. You can also adjust the fermentation time to your preference, depending on how tangy you want your bread to be.
4. Don’t skip the autolyse stage
The autolyse stage, where the flour and water are mixed and left to rest before adding the sourdough starter and salt, helps to develop gluten and improve the overall texture of the bread. It’s an important step that should not be skipped, as it contributes to a better crumb structure and chewiness of the bread.
5. Use a proofing basket or a lined bowl for shaping
Shaping the dough properly is essential in creating a nice round boule or batard shape. Using a proofing basket or a lined bowl with a generous dusting of flour will help the dough hold its shape during the final proofing stage in the refrigerator, and also create a beautiful pattern on the surface of the bread.
6. Create steam during baking
Steam is crucial in achieving a crispy crust on sourdough bread. Using a Dutch oven with a lid or placing a pan of hot water in the oven to create steam will help the bread expand and develop a desirable crust. Just be careful when handling hot steam and always use oven mitts or a towel to protect your hands.
7. Let the sourdough bread cool before slicing
It can be tempting to dig into that freshly baked bread right away, but it’s important to let it cool completely on a wire rack before slicing. This allows the crumb to set and prevents it from becoming gummy.
8. Don’t be afraid to experiment and learn from your mistakes
Sourdough bread-making is a skill that takes practice and patience. Don’t be discouraged if your first few loaves don’t turn out as expected. Learn from your mistakes, adjust your process, and keep trying. Each bake is a learning opportunity to improve your skills and develop your own unique style of sourdough bread.
Conclusion: Make sourdough bread from scratch
Making homemade sourdough bread from scratch can be a rewarding and delicious endeavor. It requires some time, patience, and practice, but with a healthy and active sourdough starter, quality ingredients, and proper technique, you can create beautiful, flavorful, and crusty loaves of bread that will impress your family and friends.
Want some ideas for DIY food gifts? Check out some ideas and recipes for homemade edible gifts that are perfect for special occasions and holidays.



[…] Want more healthy ways to satisfy your cravings? Check out how to make homemade sourdough bread! […]