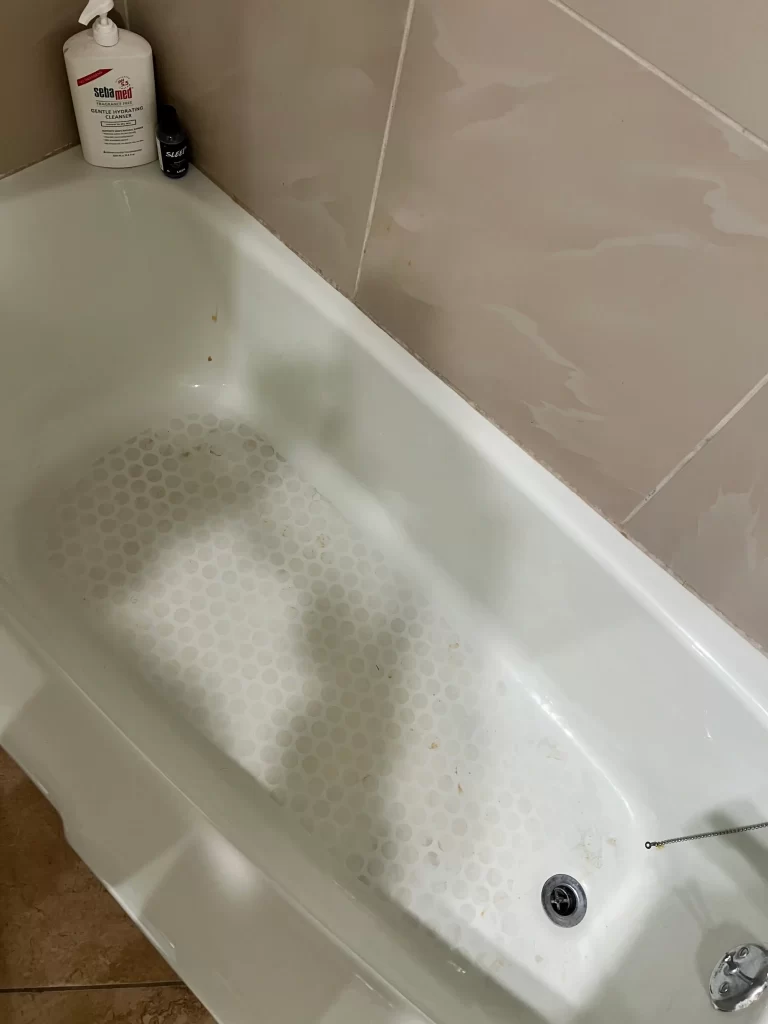
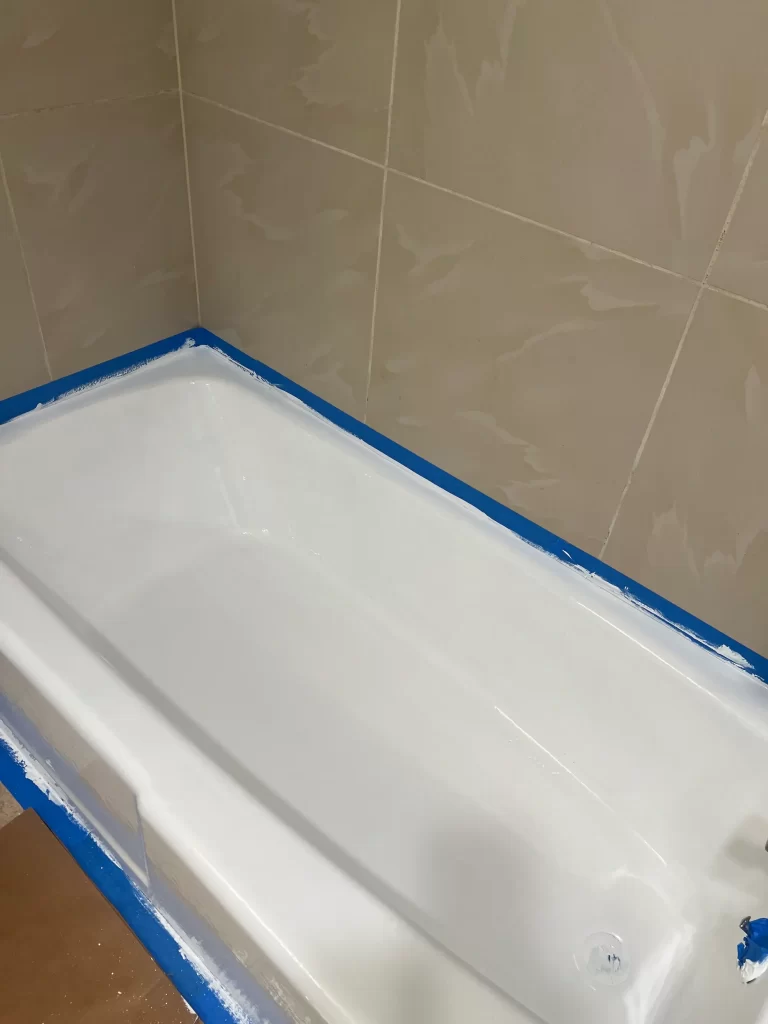
Is your bathtub old, turning yellow, or just plain ugly? Have you flirted with the idea of replacing it entirely, only to realize you don’t have the budget for that? If so, I’ve been in the exact same boat. But if you stumbled upon this post you must have realized that there is an affordable way to make your bathtub shine like new again! Here’s how to refinish your bathtub for less than $100.
How to refinish your bathtub


First, you need to gather your materials. Here’s a list of the materials I recommend starting with:
- Bathtub refinishing kit
- Sandpaper (80-100 grit)
- Putty knife (if your tub has cracks or chips)
- Paint brushes and paint roller
- Painter’s tape
- Rags
- Mild abrasive cleaner
- Respirator mask
Step 1: Prep the tub
- Remove or tape all hardware, such as faucets, shower curtain rods, and drain covers.
- Cover the surrounding areas with painter’s tape and plastic sheeting.
- Open windows for proper ventilation.
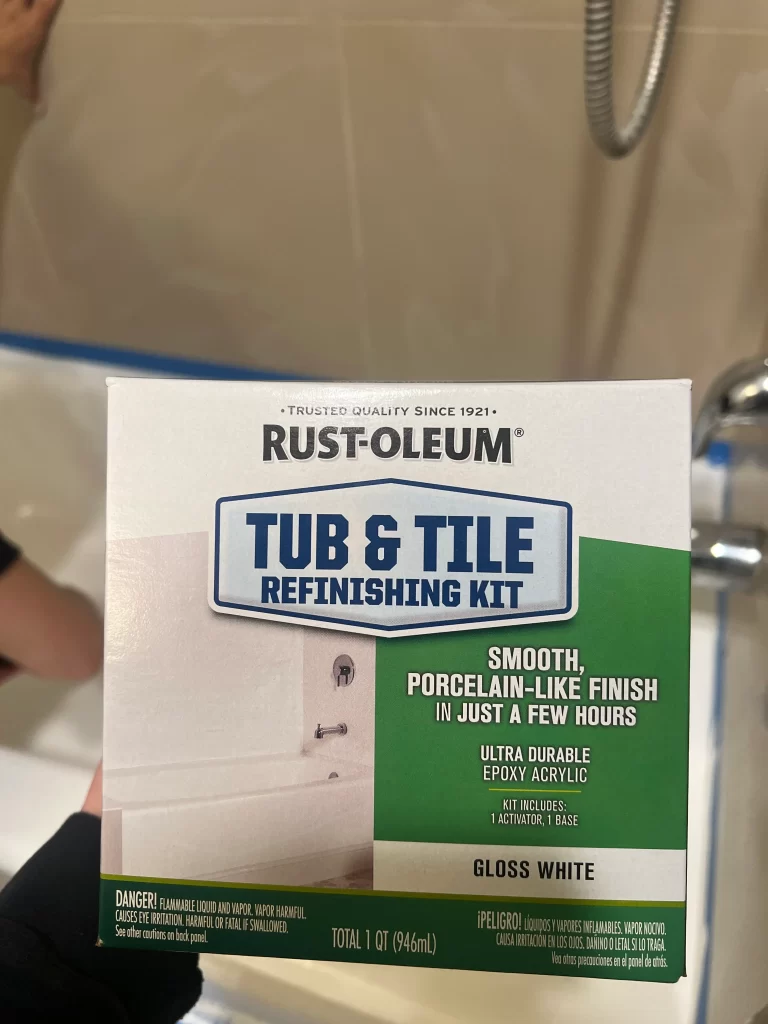
We chose the Rust-Oleum tub and tile refinishing kit in gloss white. Keep in mind there are a few different color options to choose from, so pick the one that works best for you.

Step 2: Clean the bathtub
- Use a mild abrasive cleaner and a scrub pad to remove any soap scum, mildew, or surface grime from the bathtub.
- Rinse the tub thoroughly with water and let it dry completely.
Step 3: Sand the surface
- Using 80-100 grit sandpaper, lightly sand the entire surface of the bathtub to rough up the existing finish.
- Pay extra attention to any rough or pitted areas, sanding them down until smooth.
- Wipe away any dust or debris with a damp cloth.
Step 4: Fill cracks and chips (if needed)
- If there are any cracks, chips, or holes in the bathtub, use a putty knife to apply a two-part epoxy filler or glaze from the refinishing kit.
- Allow the filler to cure according to the manufacturer’s instructions.
- Sand the filled areas smooth once cured.
Step 5: Apply the refinishing coating
- Follow the instructions included with your specific refinishing kit for mixing and application.
- Typically, you’ll apply a thin, even coat of the refinishing material using a brush or roller.
- Allow the first coat to dry completely as per the instructions before applying additional coats, if needed.
Step 6: Let it cure
- After applying the final coat, allow the refinished bathtub to cure for the recommended amount of time, which is usually 24-48 hours.
- Keep the area well-ventilated during this process.
Step 7: Reinstall hardware
- Once the refinishing material has fully cured, reinstall the faucets, shower curtain rods, and drain covers.
Want more affordable DIY home ideas?
How to install fake grass on a budget
DIY home library room in 7 easy steps
Please note: Some of the links in my posts are affiliate links. I get commissions for purchases made through those links. As an Amazon Associate I earn from qualifying purchases when you buy something from those links.


[…] 7 steps to refinish your bathtub […]