If you’re looking for a simple and affordable way to add texture and interest to your home decor, a DIY macrame wall hanging may be just the thing you need. Macrame is a technique that involves knotting cords or strings to create a variety of patterns and designs. With a few supplies and some basic knotting techniques, you can create a beautiful wall hanging that adds a bohemian touch to any space.
In this blog post, we’ll provide you with a step-by-step tutorial on how to create a macrame wall hanging, including tips for choosing the right materials and colors.
We’ll also offer suggestions for how to style the wall hanging in different rooms of your home.
Macrame supplies needed
To create a macrame wall hanging, you’ll need the following supplies:
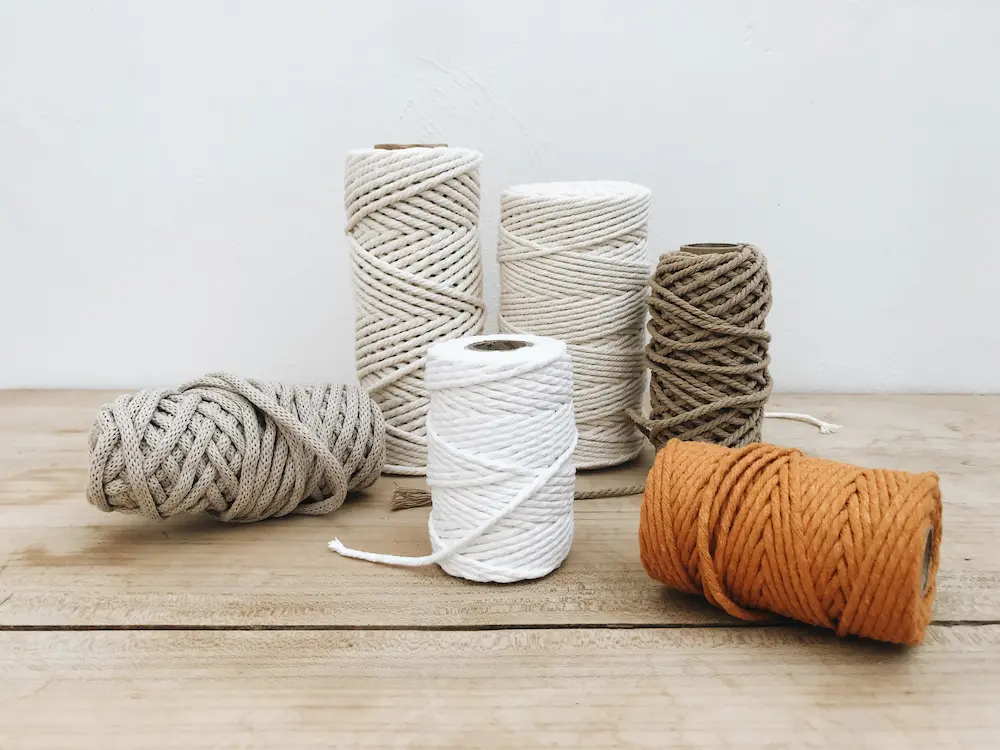
- Cotton cord (we recommend using a 3mm or 4mm cord)
- Wooden dowel or metal ring for hanging
- Scissors
- Measuring tape
- Optional: beads, feathers, or other embellishments
Choosing the right materials


When it comes to choosing the right materials for your macrame wall hanging, there are a few things to keep in mind. First, you’ll want to select a cord that is strong and durable, yet soft and easy to work with. We recommend using a cotton cord, as it is affordable, readily available, and comes in a variety of colors and sizes.
Next, you’ll need to decide on the size and shape of your wall hanging. This will depend on the space where you plan to hang it, as well as your personal preferences. A rectangular or square shape is a classic choice, but you could also experiment with asymmetrical designs or incorporate different shapes like triangles or circles.
Finally, consider adding embellishments like beads, feathers, or shells to your macrame wall hanging for a more unique and personalized touch.
DIY macrame wall hanging: Step-by-step
Now that you have your supplies, it’s time to start creating your macrame wall hanging.
Follow these step-by-step instructions to get started.
Step 1:
Cut your cord into eight pieces, each measuring approximately four times the length of your dowel or ring. For example, if your dowel is 12 inches long, cut each cord to 48 inches.
Step 2:
Fold each cord in half and attach them to the dowel or ring using a lark’s head knot. To do this, fold the cord in half, place the loop over the dowel or ring, and pull the ends of the cord through the loop. Repeat this for each cord until you have eight cords attached.
Step 3:
Separate the cords into four pairs. Tie a square knot with each pair of cords, leaving a few inches of space between each knot. To tie a square knot, take the left cord and cross it over the right cord. Then, bring the left cord under the right cord and up through the loop. Pull both cords tight to form the first half of the knot. Then, take the right cord and cross it over the left cord. Bring the right cord under the left cord and up through the loop. Pull both cords tight to complete the square knot.
Step 4:
Create a second row of square knots by pairing up the outer cords with the adjacent cords and tying another square knot. You should have four new knots, with the two inner cords remaining untouched.
Step 5:
Create a third row of square knots by pairing up the outer cords with the adjacent cords from the neighboring knots and tying another square knot.
Step 6:
Repeat steps 4 and 5 until you reach your desired length.
Step 7:
After you have created several rows of square knots, you can start to create the macrame design. To do this, you will need to use a variety of knotting techniques to create different patterns and textures. One of the most popular macrame techniques is the “double half hitch knot.” To create this knot, take the left cord and bring it over the two middle cords, then under the right cord. Bring the right cord over the left cord, and under the two middle cords, then up through the loop created by the left cord. Pull both cords tight to complete the knot. Repeat this process with the next pair of cords, starting with the right cord.
Step 8:
Continue to create different knots and patterns, such as the “square knot spiral,” the “berry knot,” or the “half square knot spiral,” until you have achieved your desired look. Make sure to keep your knots tight and even for a polished finish.
Step 9:
Once you have reached the end of your cord, tie a knot at the bottom to secure your work. You can then trim the excess cord to create a neat finish.
Step 10:
To hang your macrame wall hanging, simply tie a piece of cord or ribbon to each end of the dowel or ring, and hang it from a hook or nail on your wall.
Styling tips

Now that you have created your macrame wall hanging, it’s time to style it in your home. Here are a few tips for incorporating your wall hanging into different rooms:
- In the living room: Hang your macrame wall hanging above your sofa to create a focal point in the room. Pair it with a neutral-colored throw pillow or rug to balance out the bohemian vibe.
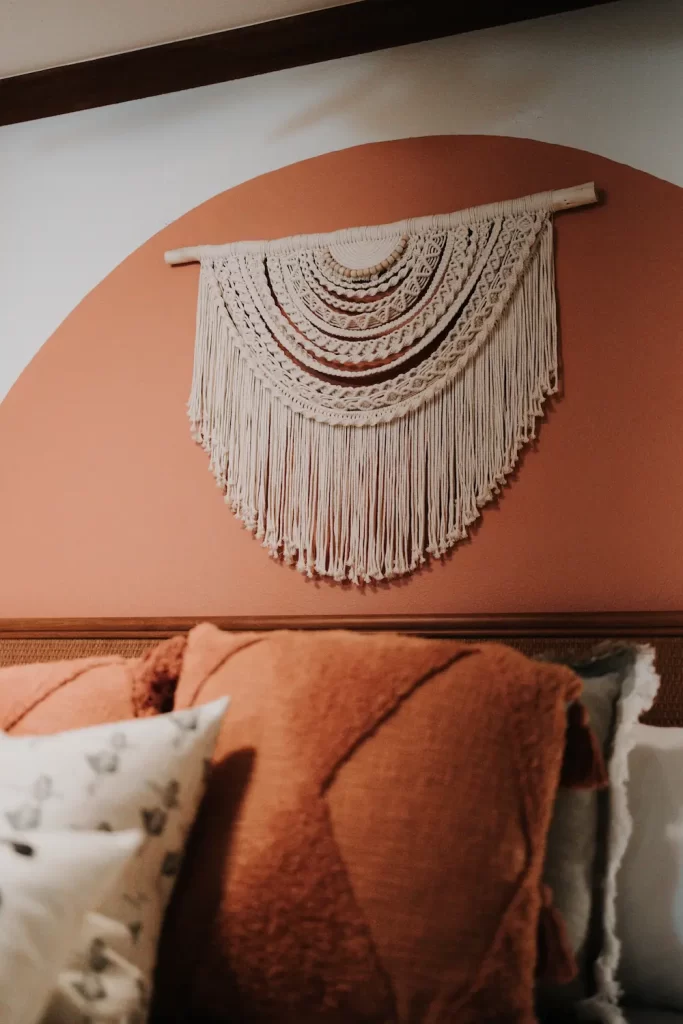
- In the bedroom: Hang your macrame wall hanging above your bed for a dreamy, ethereal look. Pair it with white bedding and light, airy curtains for a romantic feel.
- In the nursery: Create a whimsical and playful nursery by hanging a macrame wall hanging above the crib. Add some colorful accents, like a patterned rug or brightly colored throw pillow, for a fun pop of color.
- In the home office: Add some texture and interest to your workspace by hanging a macrame wall hanging above your desk. Pair it with a sleek and modern desk lamp for a chic, contemporary look.
Ready for another DIY project? Learn how to build your own farmhouse-style coffee table with reclaimed wood.


[…] another fun DIY project? Learn how to make a DIY macrame wall hanging […]