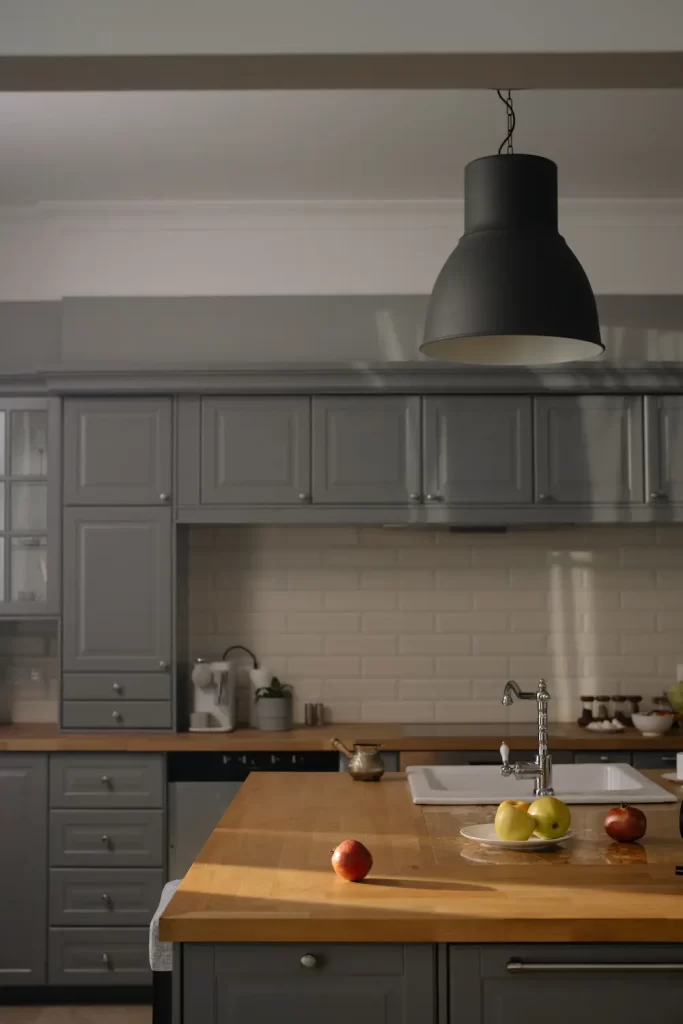
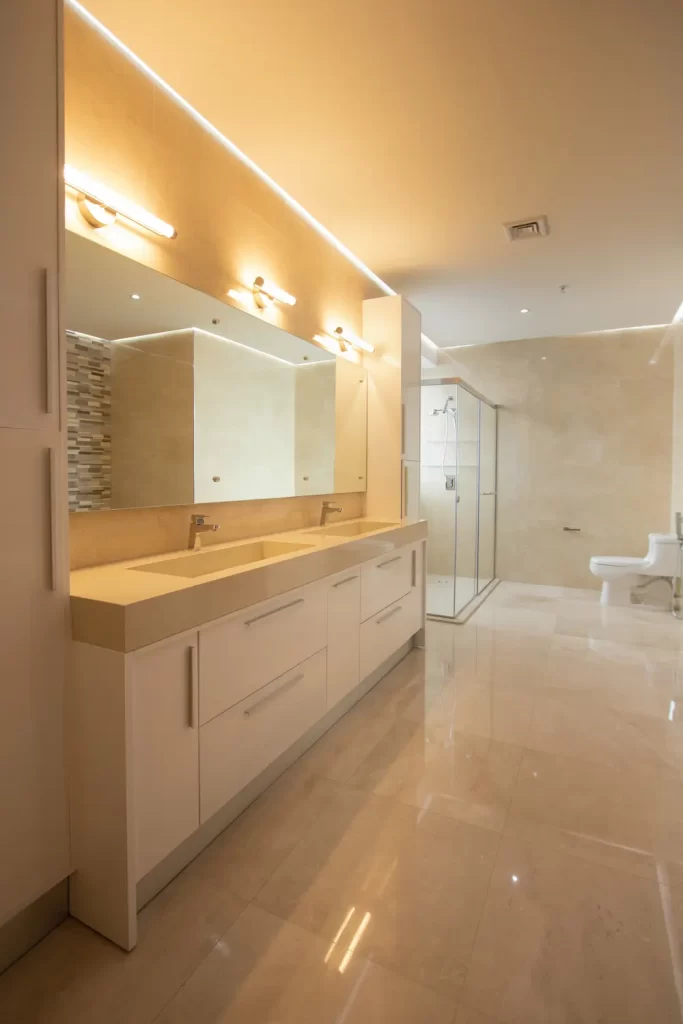
Refinishing your cabinets is a cost-effective way to give your kitchen or bathroom a fresh, updated look without the need for a complete remodel. With the right tools and some patience, you can transform your cabinets from drab to fab in just a few simple steps. In this blog post, we’ll provide a step-by-step guide for refinishing your kitchen or bathroom cabinets, including sanding, painting or staining, and replacing hardware.
Step 1: Remove cabinet doors and hardware
The first step in refinishing your cabinets is to remove the cabinet doors and hardware. Use a screwdriver to remove the hinges and knobs or handles from the doors and drawers. This will make it easier to work on the cabinets and ensure a smoother finish.
Step 2: Clean and sand the cabinets
After removing the doors and hardware, it’s time to clean and sand the cabinets. Use a cleaning solution to remove any dirt or grime from the surfaces. Once the cabinets are clean and dry, use sandpaper to sand the surfaces lightly. Sanding will create a rough surface that will allow the primer and paint or stain to adhere better.
Step 3: Apply primer
Once the cabinets are sanded, it’s time to apply primer. Use a paintbrush or roller to apply a coat of primer to the cabinets. Primer will help the paint or stain adhere to the cabinets and create a smooth, even finish. Allow the primer to dry completely before moving on to the next step.
Step 4: Apply paint or stain
After the primer is dry, it’s time to apply the paint or stain. Use a paintbrush or roller to apply the paint or stain in thin, even coats. Be sure to apply the paint or stain in the same direction as the grain of the wood for the best results. Allow each coat to dry completely before applying the next coat.
Step 5: Replace hardware
Once the paint or stain is dry, it’s time to replace the hardware. Use a screwdriver to attach the hinges and knobs or handles to the cabinet doors and drawers. This will complete the refinishing process and give your cabinets a fresh, updated look.
Frequently asked questions: How to refinish cabinets


1. How long does it take to refinish cabinets?
The length of time it takes to refinish cabinets will depend on the size of your kitchen or bathroom and the complexity of the job. It can take anywhere from a few days to a few weeks to complete the job, depending on how many cabinets you have and how much work is involved.
2. Can I refinish my cabinets without sanding?
While sanding is an important step in the refinishing process, there are some products on the market that can help you skip this step. Look for products that are specifically designed for use on cabinets and claim to eliminate the need for sanding.
3. What type of paint or stain should I use to refinish my cabinets?
The type of paint or stain you use will depend on the look you’re trying to achieve and the type of wood your cabinets are made of. For a classic, traditional look, use a wood stain. For a modern, contemporary look, use a high-gloss paint.
4. Can I refinish my cabinets myself, or do I need to hire a professional?
Refinishing cabinets is a DIY project that many homeowners can tackle on their own. However, if you’re not comfortable working with power tools or don’t have the time to complete the job yourself, it’s always best to hire a professional.
Craving another DIY project? Learn how to build your own farmhouse style coffee table using reclaimed wood.


Leave a Reply